
In February, my mom passed. For about 2 months things were just …. it was a blur of emotion and pain. It took us a good while after her funeral to get all of her belongings gone through and we allowed relatives and friends to come and take home things from her home that they could use or wanted to remember her by. We grieved and we cleaned. I honestly was mostly functioning on auto-pilot and put myself to hard work in my business when not working at mom’s to drown the hurt.
Slowly I began to function again and after a while I went back to the project. One of the things I wanted was to coat the rail and receivers in Norrell’s Moly Resin. I am familiar with it and have used it several times. It is a phenolic resin and is tough as nails yet easy to work with. Cured in your oven at 300* for 1 hour it is virtually impervious to most any chemical and very durable to rough use.
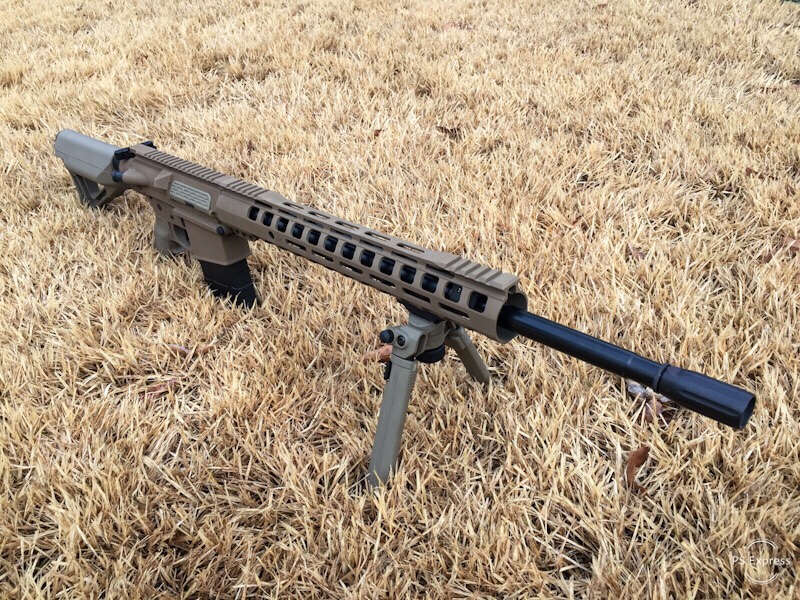
I decided not to match the Magpul FDE but to go with Coyote Brown for a 2 tone effect like a rifle I saw online seen below.
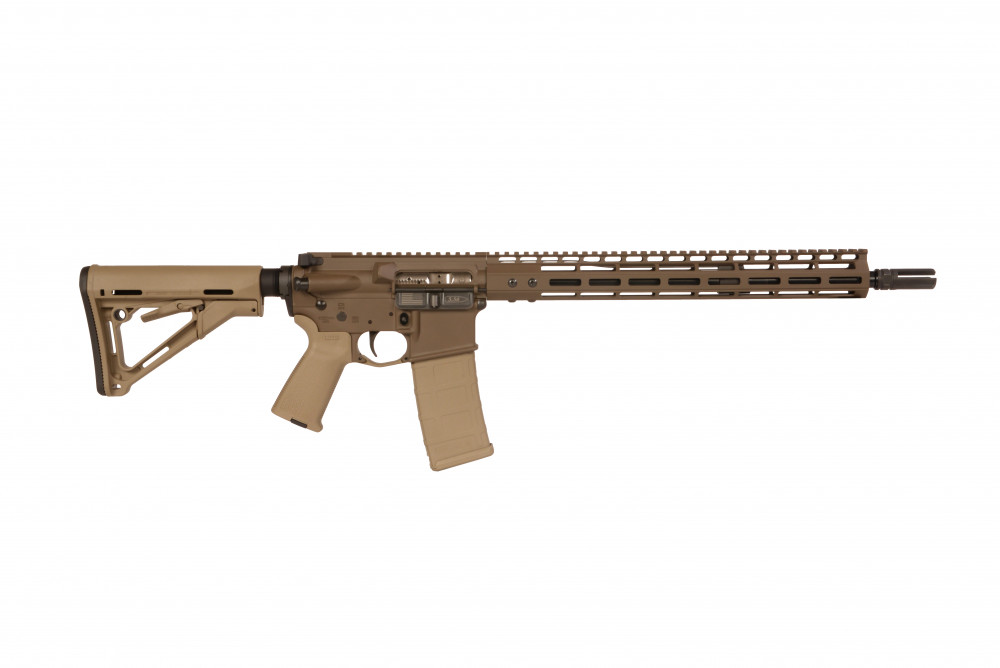
This would require the stainless barrel to be coated as well in satin black. I ordered the Norrell’s and went about collecting some other bits and pieces. I knew a great trigger was a necessity so the choice of brand was easy. Every AR I own has a single stage CMC flat trigger and I love them all. My AR pistols have 4.5lb, my 16” carbines have 3.5lb and this rifle ended up with a 2.5lb.
I found some SR25 Pmags on sale in the 20 round flavor and bought a few.
I disassembled the rifle down to bare components in preparation for the coating process. I degreased it with Purple Power and blew it dry with compressed air.
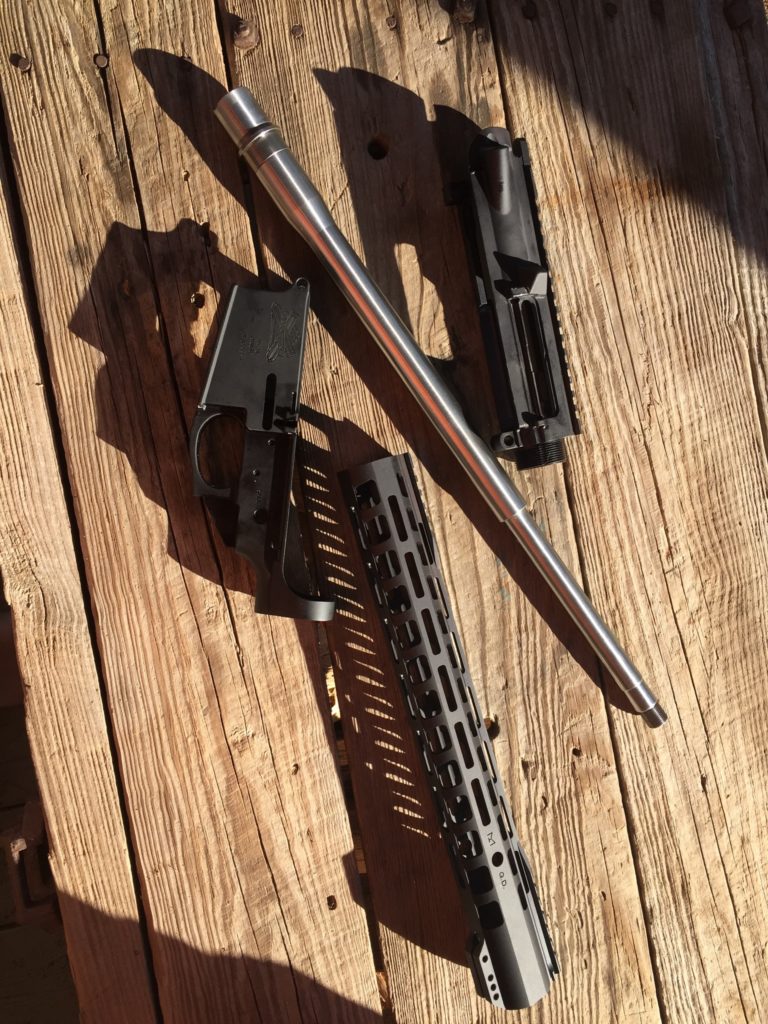
I got my airbrush ready and heated the parts. Norrell’s flash drys on hot parts and it is important to preheat everything as you coat it. A heat gun is helpful. Once the receivers and rail were sprayed, into the oven they went to be cured.
Fresh out of the oven, looking awesome.
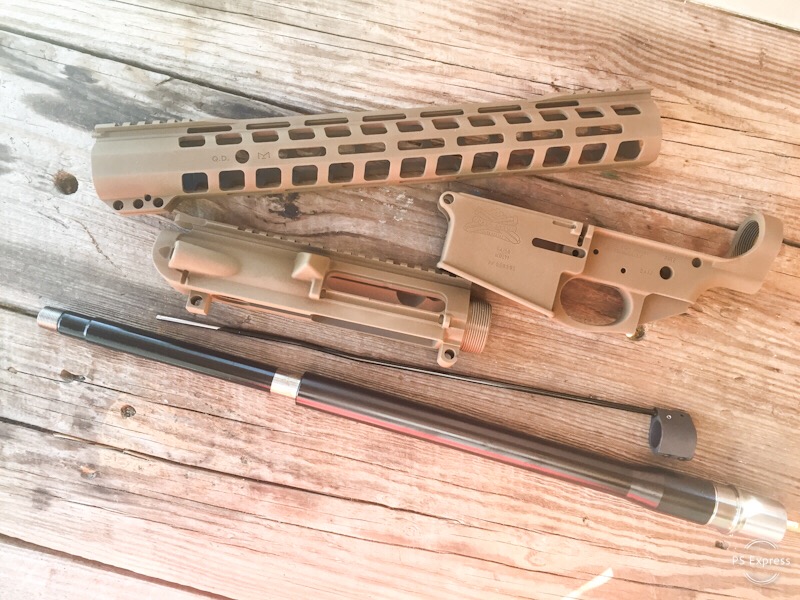
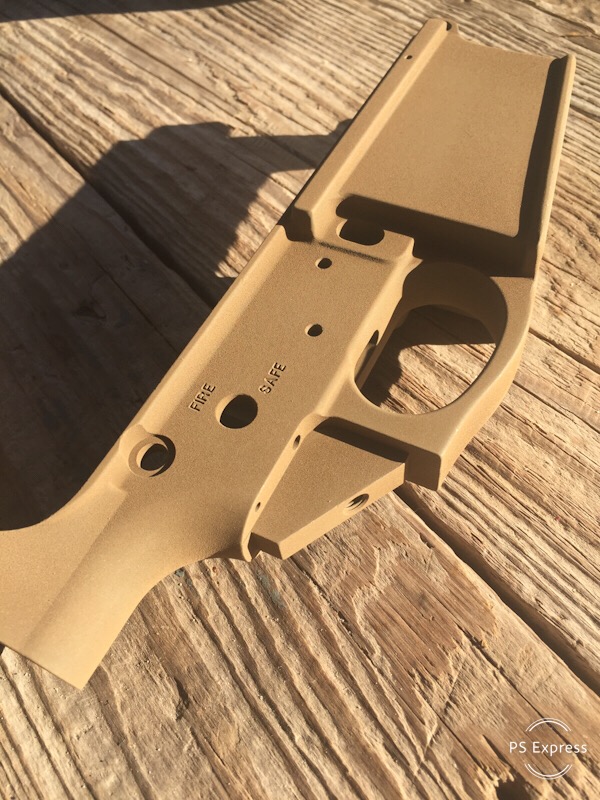
An online acquaintance from another state offered the use of his face lapping tool and sent it to me. The purpose is to face the area where the barrel extension meets the receiver to assure that they are precisely aligned. You simply use the tool with lapping compound until a uniform shiny ring is visible.
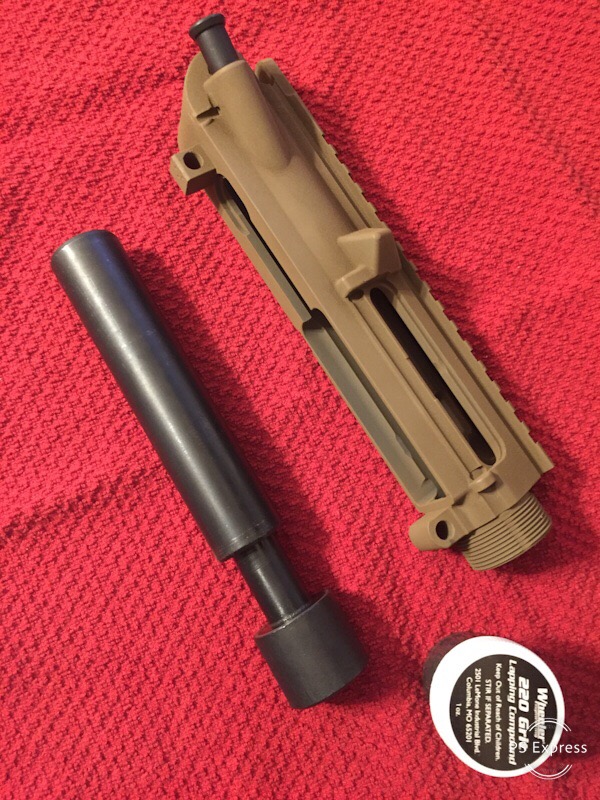
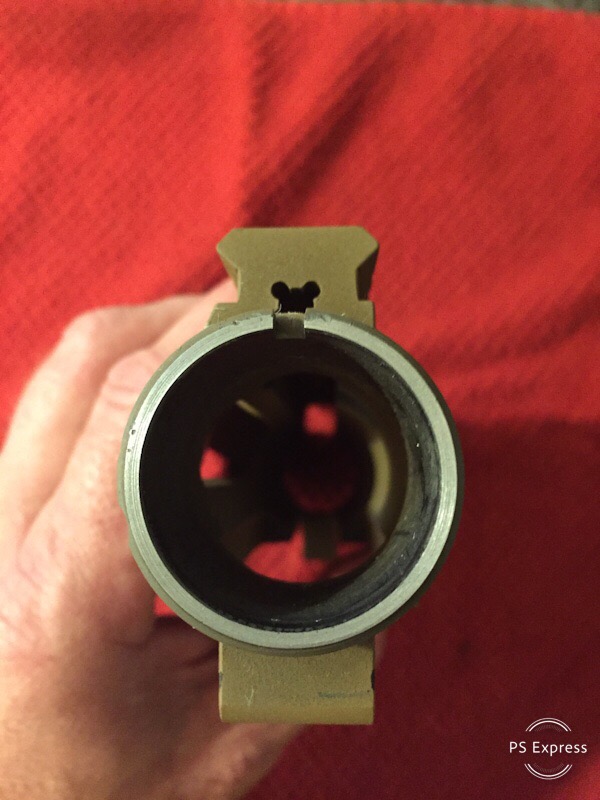
It was also suggested that .001 stainless shim stock be used to assure a tight barrel to receiver fit so I purchased some 1” wide .001 stock. To install I simply heated the upper with a heat gun and slid the barrel and shim stock (which was cut to wrap all the way around the barrel extension) into the upper. Once cooled it was unmovable by hand.
I finished putting the lower together with the CMC trigger, H3 buffer and Tubbs Flatwire spring. I installed and tightened the barrel nut to spec and then reinstalled the gas block and gas tube, then the rail.
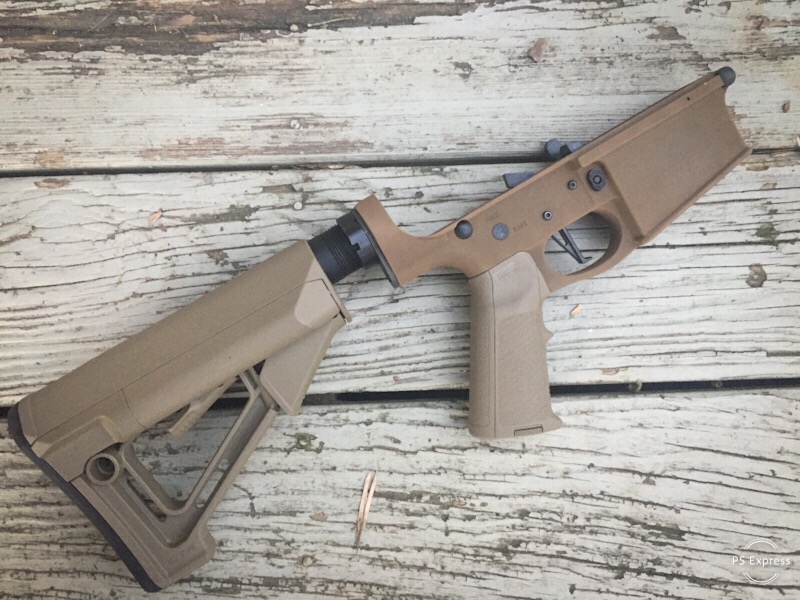
I lubed it up well, cycled the bolt and after a few cycles it was smooth as butter.
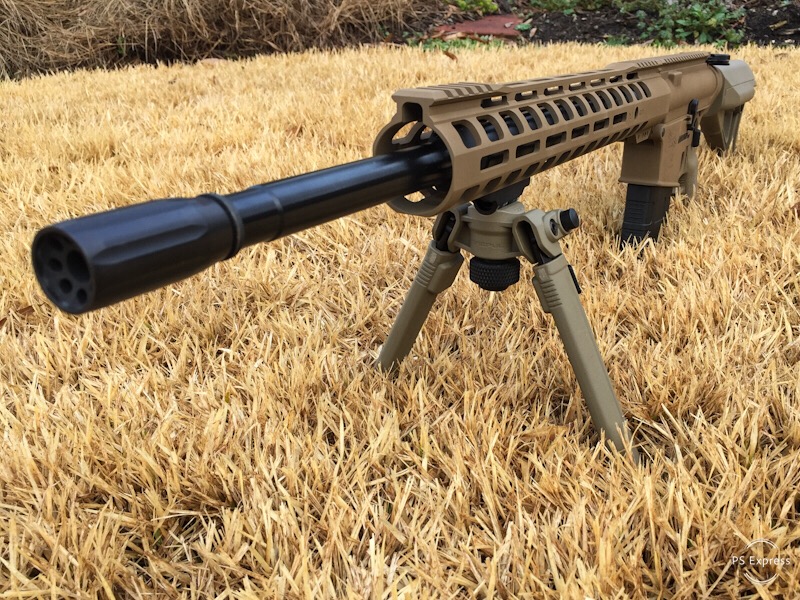
I had previously bought a Magpul bipod for my Kidd 22 and really like it, so I bought a Mlok version for this rifle and got that installed along with a KAW Valley linear compensator to keep blast at my ears to a minimum since the recoil control of a true brake isn’t needed with this cartridge.
I initially used a polymer Strike Industries dust cover but have since removed it in favor of the factory style steel cover. Nothing against it, just decided that I prefer the look of the normal cover. I also removed the crush washer from behind the KAW Valley linear compensator that you see in the pictures below and so far it has held perfectly and looks cleaner.
Looking like a real rifle! At this point Ma Bell was ready for a 20MOA canted scope mount and some glass.
Part 3 coming soon.


Awesome! I wanna shoot that thing man!
[…] Part 2 […]